
AD-Computer
| Interfaces > AD > AD-Computer |
For administration of AD- computers, go to the AD menu button and then AD- computers.
When this page is loaded the middle of interface is empty, for easy finding a specific computer, use the user drop down in the left side of the interface. The interface is seen on figure 8.
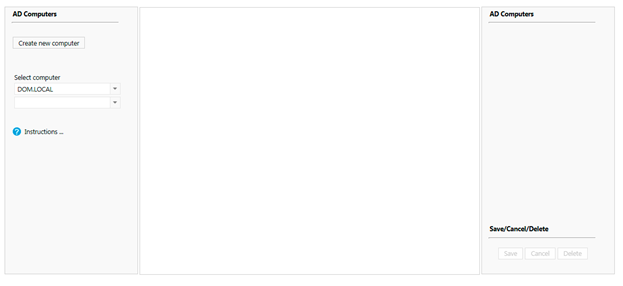
For creating a new AD computer click the “Create new computer” button in the left side of the interface, this will populate the middle interface as seen on figure 9. The creation can at any time during the creating be canceled by clicking cancel in the right corner.
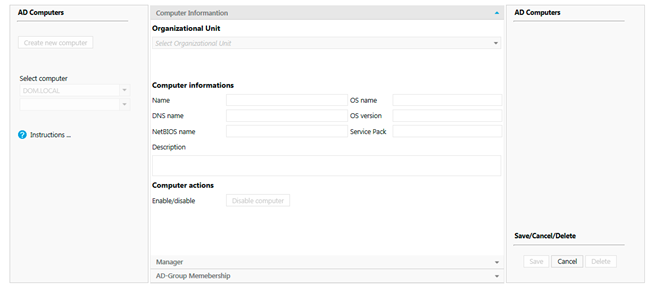
In this part of the process the organization unit, name and NetBIOS name fields mandatory to be filed out.
A description can be added to the computer, other settings can’t be changed.
· Manager:
In this tab the manager of the computer can be selected, the data of this user is the read form the AD.
· AD-group Membership
Note: A computer will automatically be added to the “Domain computers” group, this group is not showed in the interface at this point.
All other groups the user need to member of is selected, and added to user by pressing “Add membership”
When all settings is set, press “Save”
To edit an existing AD computer, go to the AD computer main interface, and select the wanted AD computer in the left side of the interface as seen on figure 8.
This will populate the middle interface with all the settings from the computer. These can now be changed as wanted.
Press “Save” to save changes.
To delete an existing AD computer, go to the AD computer main interface, and select the wanted AD computer in the left side of the interface and press, “Delete” in the bottom right corner of the interface.