
AD-Groups
| Interfaces > AD > AD-Groups |
For administration of AD-groups, go to the AD menu button and then AD-Groups. The interface as seen on figure 3 will appear.
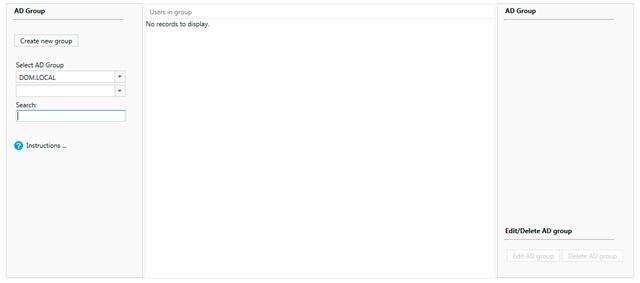
For creating a new AD-group click the “Create new group” button in the left side of the interface, this will open a new window, as seen on figure 4.
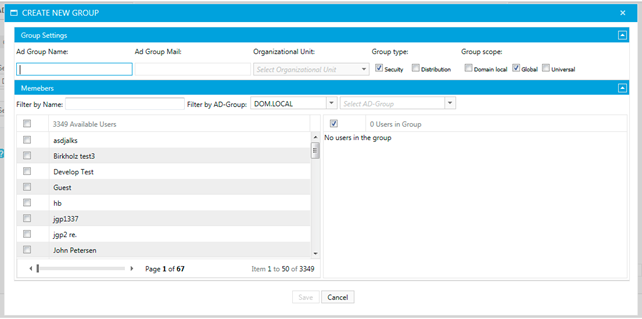
In this window there are two mandatory fields that’s needed for a group to be created. The first is the name of the group, and the second is the organizational unit.
For adding users to the new group, there is a search field where the full username can be used, when the correct user(s) is found, check the off and they will appear in the right side of the window. Additionally another AD-group can be used as a filter to find specific users.
To edit an existing AD group, go to the AD group main interface, and select the wanted AD group in the left menu, this will populate the middle part of interface with all the users inside of this group as seen on figure 5.
NOTE: A security role can see and remove all users from the group, but can only add new user that it have access to.
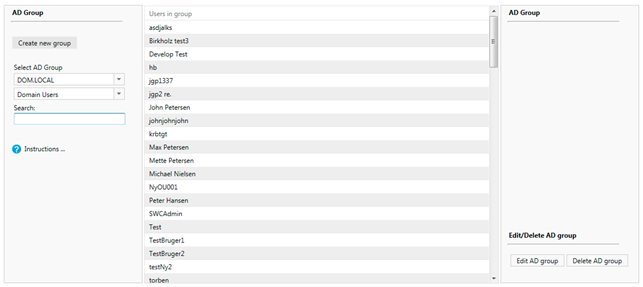
Press the “Edit AD group” button in bottom right corner and the same window as showed on figure 4 will appear, now just with all the group settings and members in it.
Note: A group can’t be renamed or get its organizational unit changed in SoftwareCentral.
To delete an existing AD group, go to the AD group main interface, and select the wanted AD group in the left menu, this will populate the middle part of interface with all the users inside of this group as seen on figure 5.
Press “Delete AD group” in the bottom right corner to delete the group.