
Software Variables
Software Variables gives the possibility to ask users for additional information before a package or item is ordered in the Shop.
A software variable can be either a Textbox or a Drop-Down box with pre-defined values. You can define if a variable should be mandatory or not.
From the Software Administration page and Custom Shop Items page you can choose which packages and items should display the software variables.
To configure software variables, go to Shopping/Software Variables in SoftwareCentral.
From this interface, you can create, modify and delete your software variables:

To create a new software variable, click on the “Create new Software Variable” button in the left side menu:
A new window will open:
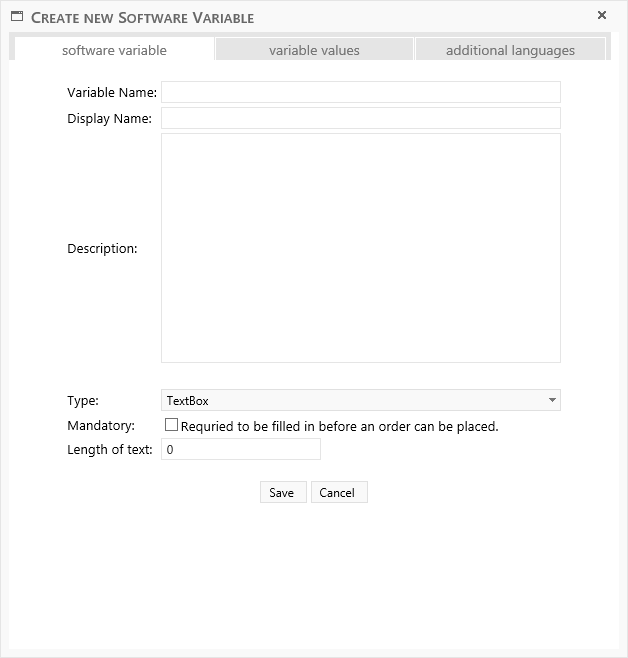
In the top of the new window there are 3 tabs:
Here is the general information about the software variable.
Variable Name: Is the normal name. It is the one that will be presented in the “Software Variables” interface and it is the one approvers will see then an item order has variables applied.
Display Name: Is the default display name users in the shop will see. If there are no available translation for the users’ browser language, it will use this display name.
Description: Is the default description users in the shop will see. If there are no available translation for the users’ browser language, it will use this description.
Type: Is the type of the variable. It can be either a Textbox, a CheckBox, a Drop-Down box with predefined values, a Drop-Down box with a PowerShell script as data source, a list of computer templates or an organizational unit drop-down tree.
Some environments may have access to more variable types.
Mandatory: Defines whether or not the user must fill in the software variable before the item is ordered.
Length of text: Defines the required length of a text input.
To create a software variable, the Variable Name and Display Name are required.
TextBox - A simple text input where users can type text and or numbers.
CheckBox - A simple true / false input.
Drop-Down - A drop-down box with a set of predefined values. Values are added from the Variable Values tab. See the chapter "Variable Values" below for more details.
Drop-Down with dynamic data source - A drop-down box, where the data source is a PowerShell script you have created. The script must return a list of objects.
Computer Templates - A drop-down box with Computer Templates.
Organizational Unit - A drop-down tree where users can select an organization unit from the Active Directory.
This tab is only available if you have chosen to create a Drop-Down box in the “Type” field:

As an example, we will create a drop-down software variable named “Region”. A default display name and description has been entered.
This variable is set as mandatory.
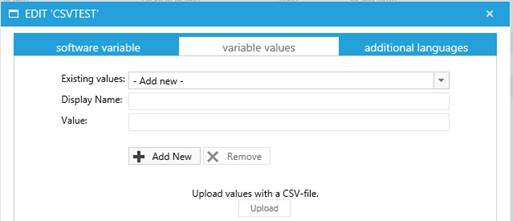
As seen on the picture above, the “Variable Values” tab is now enabled. Click on the tab itself, to go to the Variable Values page:
A variable value has 2 properties, a display name and a value. Again the display name is what the users in the shop will see and the value is what administrators and approvers will see.
To add a variable value, fill in the Display Name and the Value:

Click on the “Add New” button to add the value.
The display name and value are now cleared and the variable value you just entered is visible in the drop-down box.
We will add some more variable values:
Variable values are displayed in the order they are created in.
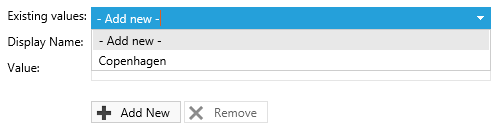
To edit a variable value, selected it from the drop-down box:
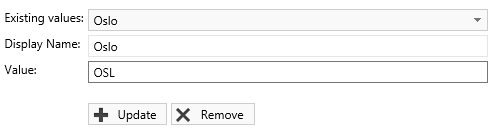
Make the desired changes to the display name or value and click the “Update” button.
To remove the variable value, click the “Remove” button.
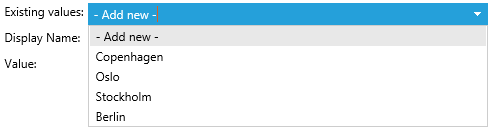
To add another variable value, select the “- Add new -“ element in the drop-down box.
 It is also possible to use a CSV-file to upload an amount of variable values to the software variable (only for dropdown-type values).
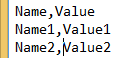
The file must be in the following format “[displayname], [value]” and each entry must have its own line.
All the lines in the CSV-file will be added to the dropdown. SoftwareCentral will replace the value of any existing items that have a display name equal to one in the CSV-upload. After uploading, you can still proceed with regular creation, editing or deletion of values.
It is recommended to use UTF-8 encoding, to ensure that special characters are properly read.
You can use a PowerShell script as the data source for the drop-down box. This could for instance be used if you need variables from a database, a share, Office 365 or some other dynamic values.
Select the variable type "Drop-Down with dynamic data source":
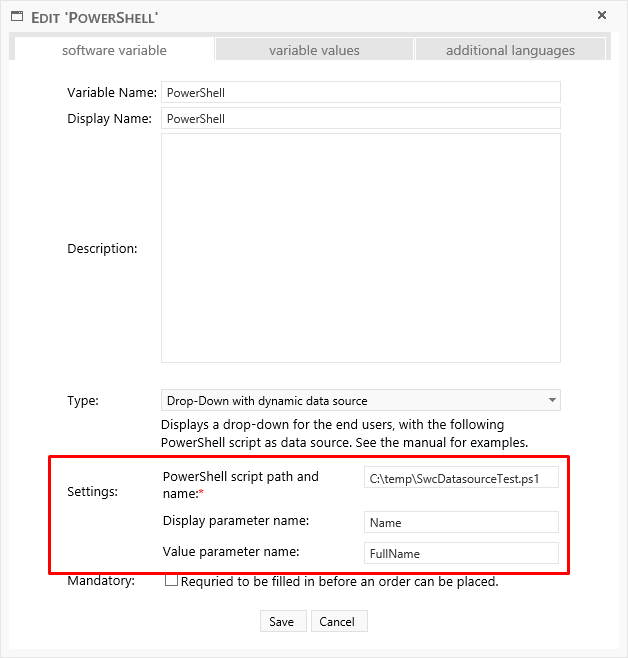
Enter a path to the PowerShell script.
The PowerShell script must return a list of objects. Enter the name of the object attributes you wish to use as name and value in the drop-down box.
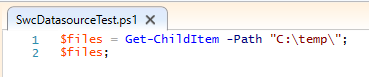
In this example, we return a list of files and sub-directories:
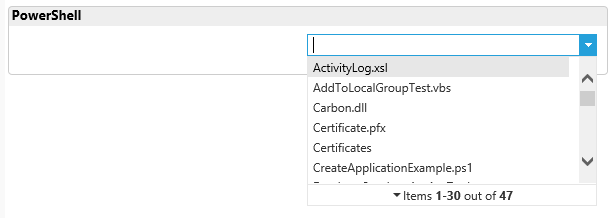
The resulting variable looks like this:
Note that you must allow PowerShell scripts to be executed on the server hosting your SoftwareCentral or CloudConnector.
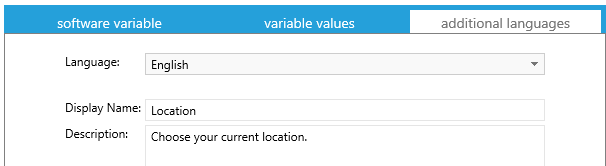
This tab enables you to translate the software variable display name and description, as entered in the first tab “Software Variable”:

Choose the language you want in the drop-down box:

For this example we will make a Danish and English version. We start by selecting “English”:
Our default display name and description were also written in English, so we can use the button “Get Default Values” to retrieve that data.
The fields are now filled in with our default text:
Now we will make a Danish translation. Again we open the language drop-down box, but this time we select “Danish”:

If you wish to remove a translation, just delete the text in the fields “Display Name” and “Description”.
The software variable are now ready, click on the “Save” button to save the variable.
If you don’t want to save your variable, click on the “X” in upper right side of the window or click on the “Cancel” button.
If you have saved the software variable, it will now show up in the list of software variables.
![]()
To edit it, click on the “Edit” button. The same window will open with the same options as when the software variable was created.
Make the desired changes and click on the “Save” button to save any changes or click on the “X” in the upper right corner of the window or the “Cancel” button to cancel any changes.
To delete a software variable, click on the Delete button. A confirmation box will appear before the variable is deleted:

See the chapter Software Administration on page 22for packages and chapter Custom Shop Items on page 27for custom shop items.

Now, when a user orders this item in the shop, the user will be presented with a window where these
variables will have to be filled in:
At the bottom of the window, we can see the variable from our example. This shop runs in Danish, so our Danish translation is displayed.
When the user have filled in the mandatory fields, the item can be ordered.