
Reinstall Single Computer
| Interfaces > Reinstall > Reinstall Single Computer |
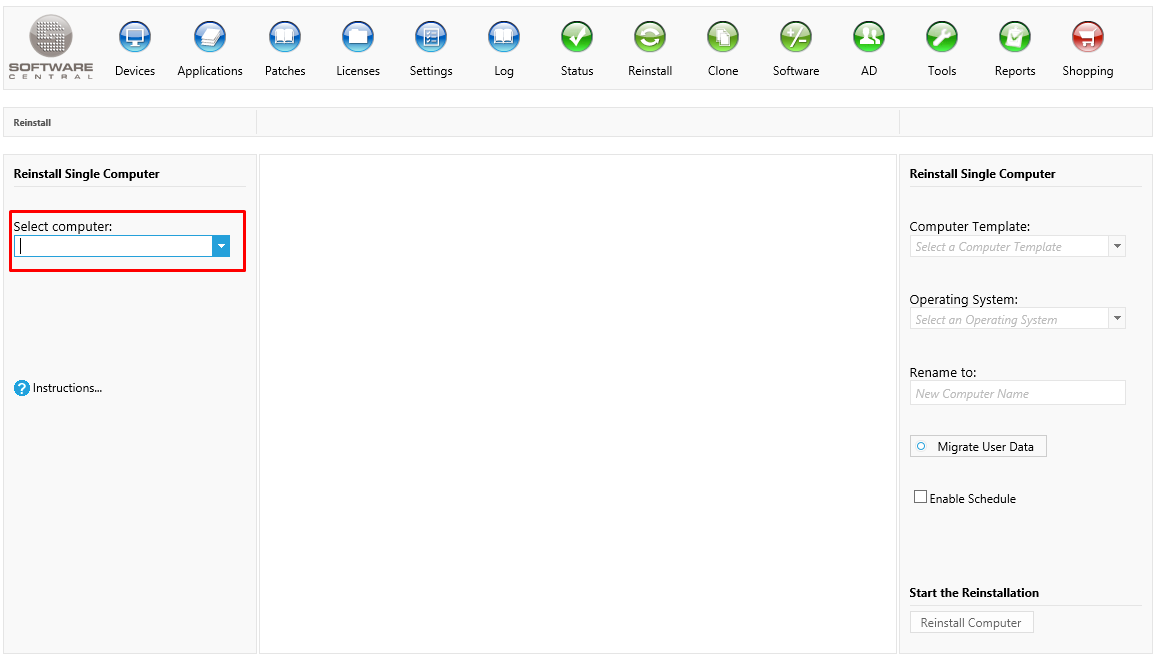
Reinstall Single Computer can be used to reinstall a computer, apply a new computer template, remove old software and rename the computer.
Reinstall Single Computer can be found under the Reinstall button in the menu:

Start by selecting a computer from the computer-drop-down in the left menu:
You can also select a computer directly in the browsers address field by typing the address followed by "?computername=PCNAME" (Replace "PCNAME" with the computer name you want to find.)
E.g.: http://softwarecentral/ComputerManagement/WebFormReinstallComputer.aspx?computername=pc035

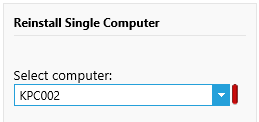
When you select a computer, a color-coded button will show whether or not the computer is online.
If the button is red, then it means that the computer is offline. You can click on the red button to reload its online status.
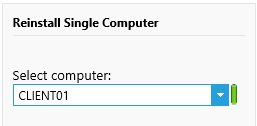
If the button is green, then it means that the computer is online. If a computer is online, the reinstallation will start immediately after you click the reinstall button.
By clicking on the green button next to the selected computer, a new window will open with details about the computer.
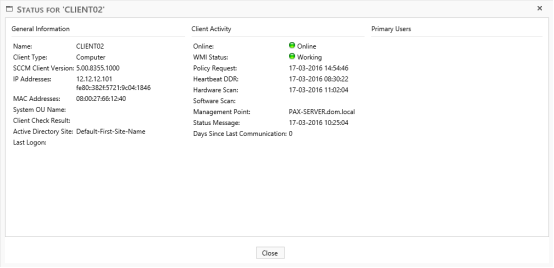
From here you can see information about the computer, assigned IP-addresses, last heartbeats and so on.
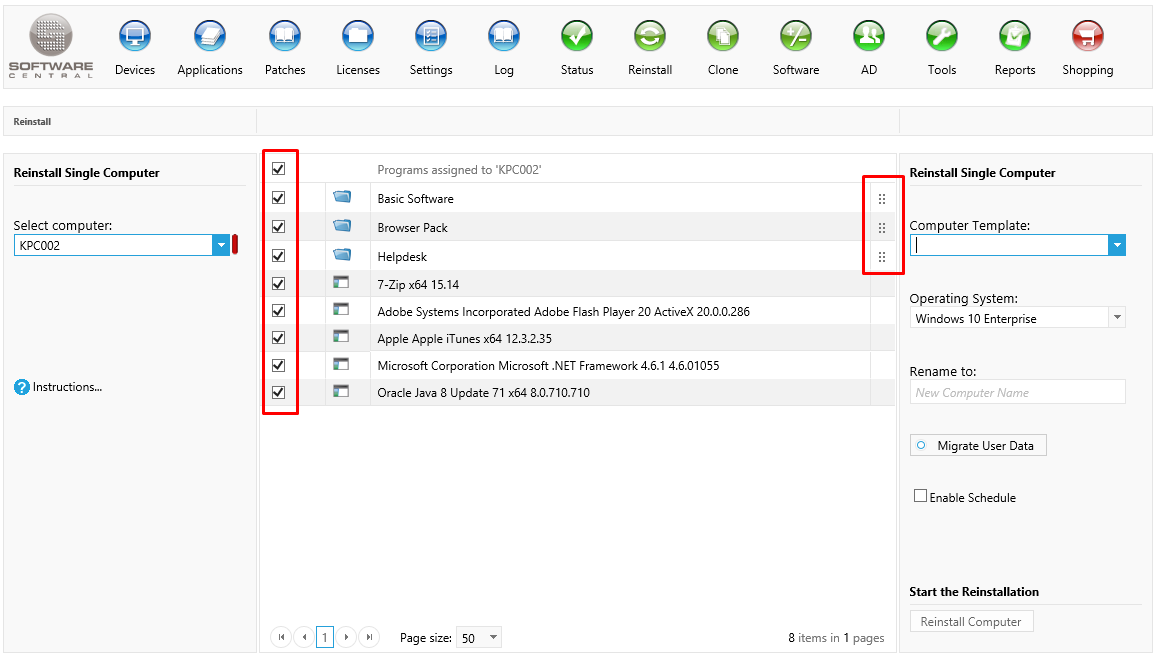
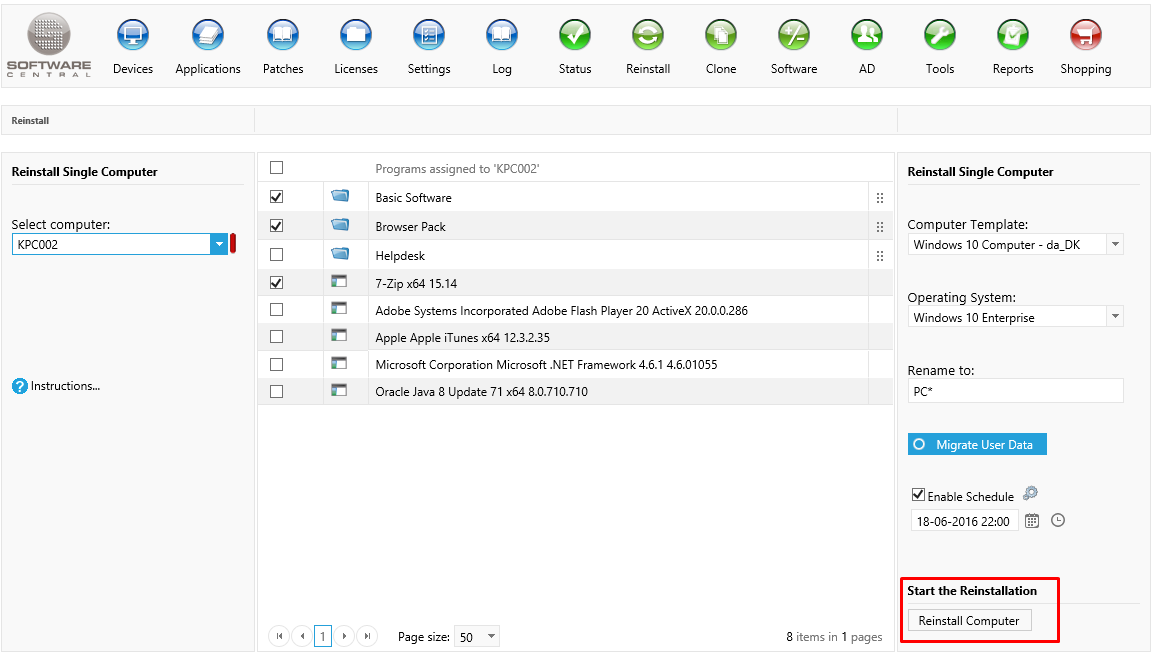
When a computer has been selected, the software currently assigned to it will be displayed in the center view. It can also be considered as a view of how the computer will look after the reinstallation.
Use the checkboxes to the left to remove software from the computer.
Programs with a folder icon  is a Software Group. You can hover the mouse over the folder icon to see what is inside the Software Group.
Software Groups can be reordered using the drag icon to the right.
 |
Software Groups will be installed in the order they are displayed. This can be helpful if one Software Group is dependent on another. The installation order cannot be controlled for individual programs. |
|
Any changes made to the assigned programs will be overwritten when a Computer Template is selected. |
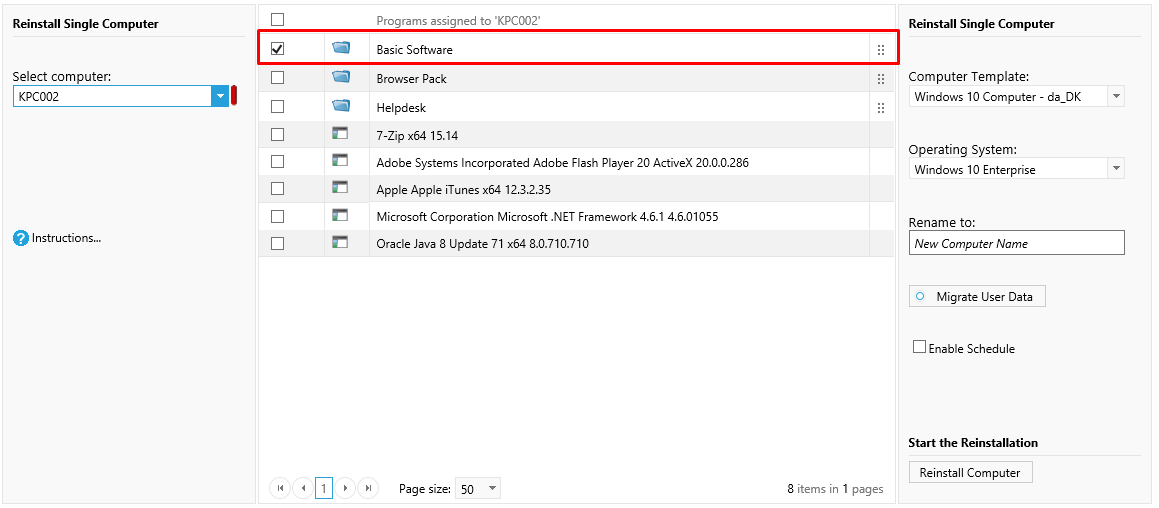
From the right menu, you can select a computer template. A computer template contains predefined settings and software.
By selecting a template, the assigned programs view in the center will reflect the software in the template.
The template selected in the screenshot below only contains the software group "Basic Software", so only this group is selected.
You can reselect any programs needed after a template has been selected.
In the right menu you have the Operating System drop-down box. From here you can select a new operating system.
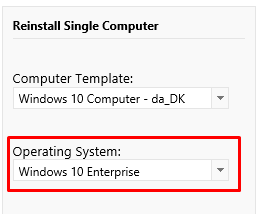
Be default, it will display the last operating system installed on the selected computer, if that data is available.
This field is required before the reinstallation can be completed.
Reinstall Computer offers the possibility to rename a computer during the reinstallation.
You can type in the new name of the computer in the "Rename to" textbox in the right menu:

You cannot use a name that is already assigned to another machine. SoftwareCentral will check if the new name already exists.
|
If you do not wish to rename the selected computer, leave the "Rename to" textbox empty. |
|
The Rename option can be disabled for all users from the Settings menu. |
If the selected computer template contains a naming schema and the selected computer does not comply to this schema, the user will be prompted to rename the computer:
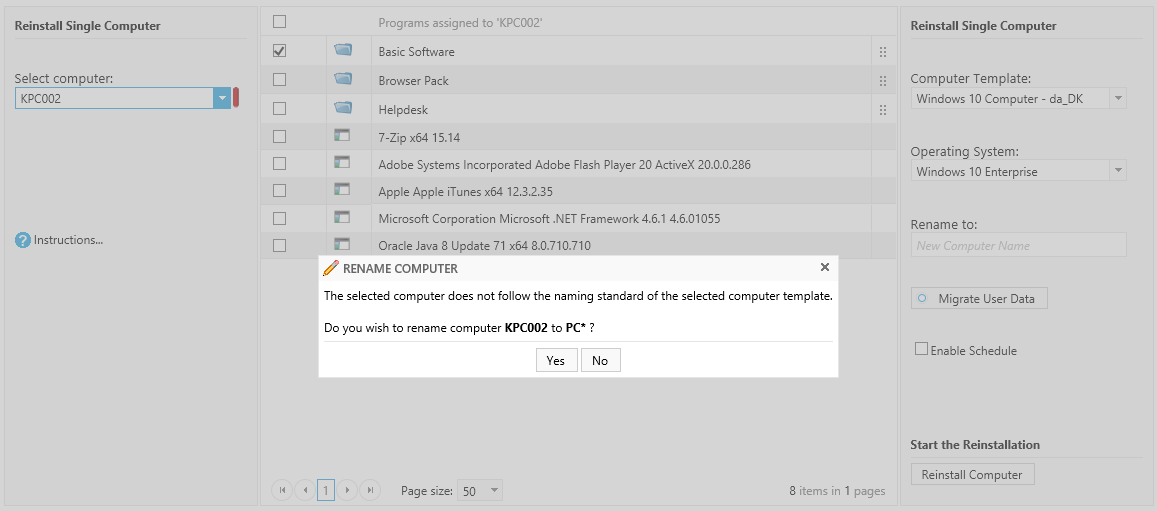
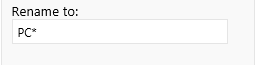
Naming schemas only displays the schema prefix followed by a star:
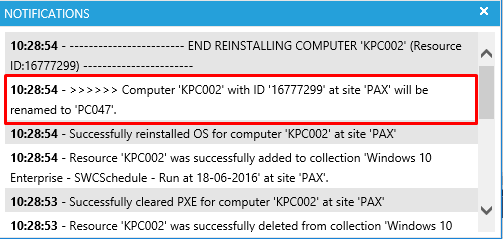
When using a naming schema, the name the computer will be renamed to is written in the log and the notifications popup after the reinstallation has been initiated:
Click on the Migrate User Data button to restore the users personal files and settings after the reinstallation.

|
Migrate User Data can be disabled for all users from the Settings menu. |
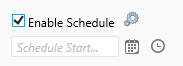
Check the Enable Schedule checkbox in the right menu to schedule the reinstallation for later:

When you check it, a date-time picker will show up below it.
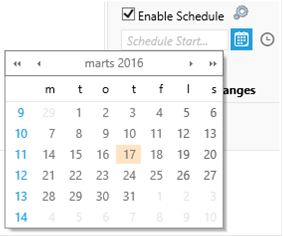
Click on the calendar-icon to select the date the deployment should start.
Today’s date is marked as yellow.
Click on the date where the deployment should start.
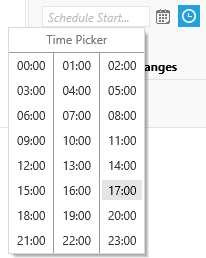
If you need to be more precise, you can set a start time to the hour by clicking on the clock icon:
The schedule is now set and the deployment is ready. Click on the “Apply Changes” button to apply the scheduled deployment.
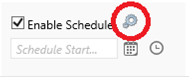
More advanced settings can be set for the schedule by clicking on the little settings-icon:
This will open a new window. From here you can give your scheduled deployment a name. This will make it easier to find in the Deployment Manager and the Edit Schedule interfaces.
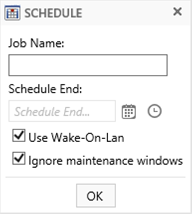
You can also define the latest run time for the schedule. This is by default 7 days after the start time.
You can disable wake-on-lan to turn on the computer if it is offline when the deployment starts. This is by default enabled.
You can also disable the ignore maintenance windows, which is also enabled by default.
Click on the "Reinstall Computer" button to start the reinstallation:
You can follow the status of the reinstallation from the Deployment Monitor in the lower left corner:

From the deployment monitor, we can see if the reinstallation is still going, is succeeded or failed.
