Servicing Plans
| Interfaces > Patches > Servicing Plans |
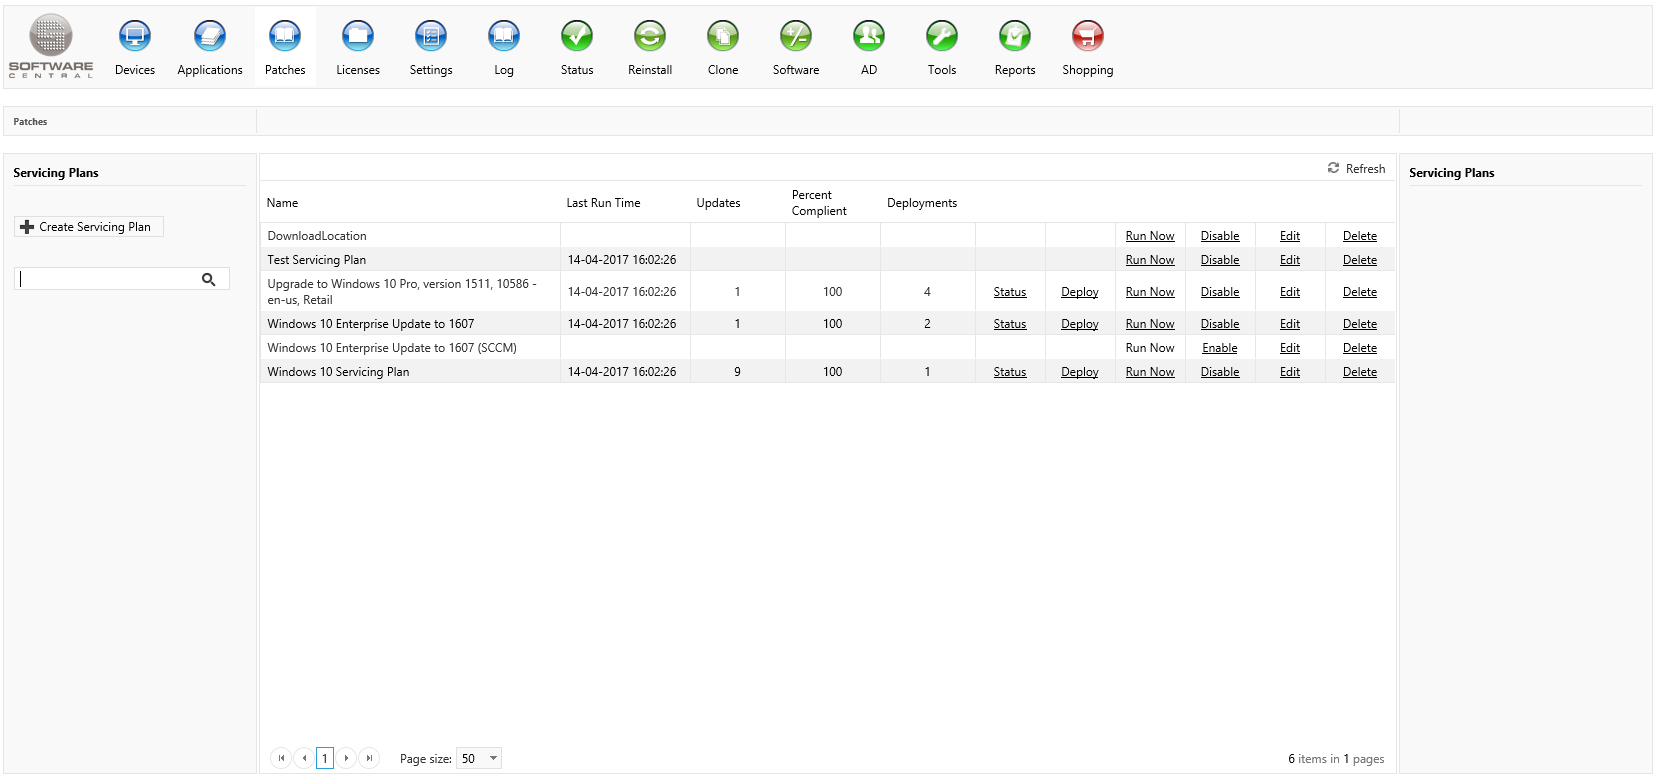
From the Servicing Plans interface you can create and manage Windows 10 Servicing Plans.
The main interface displays all current Servicing Plans.
To create a Servicing Plan, click on the "Create Servicing Plan" in the left menu. A new window will open:
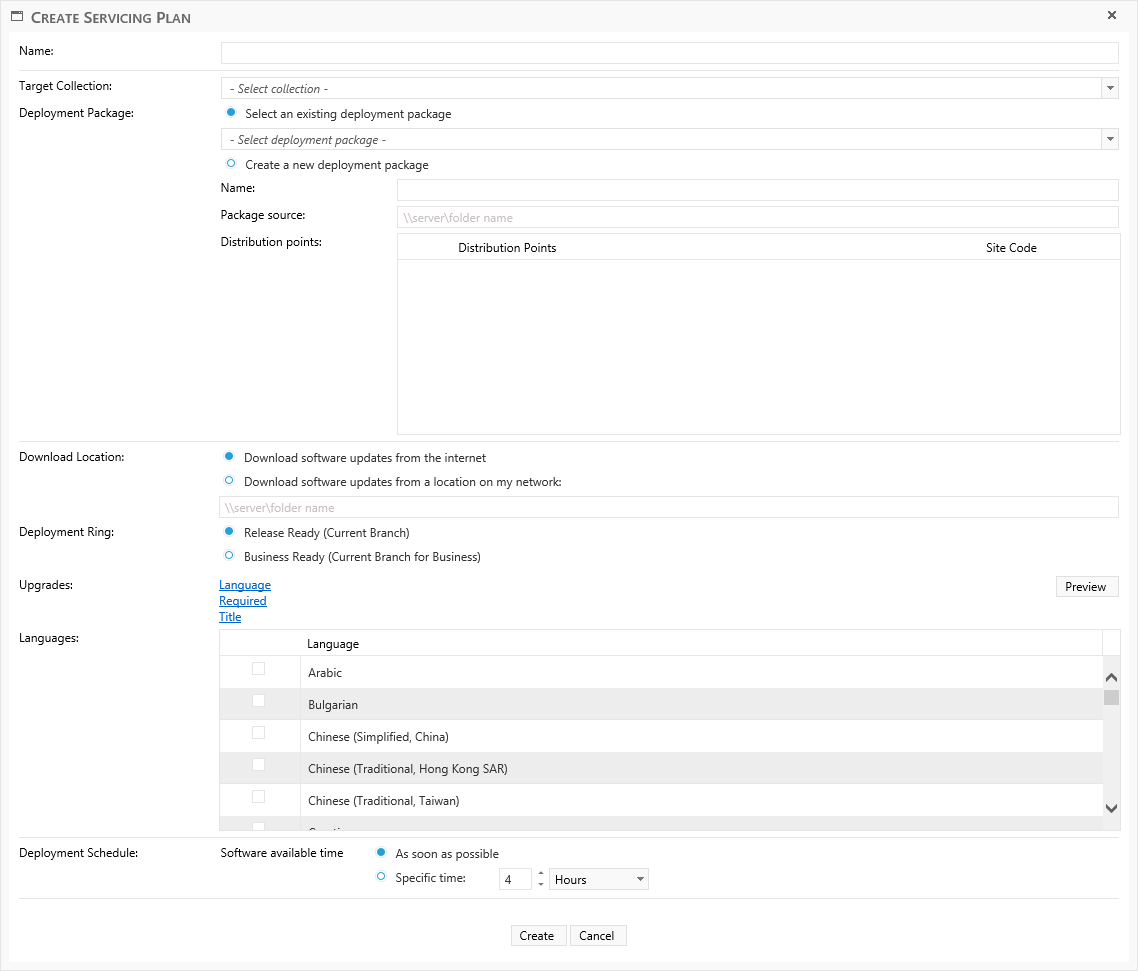
Start by giving the Servicing Plan a suitable name.

Next, select the target collection containing the computers you wish to upgrade. This can be a test collection - you can deploy the Servicing Plan to another collection later.

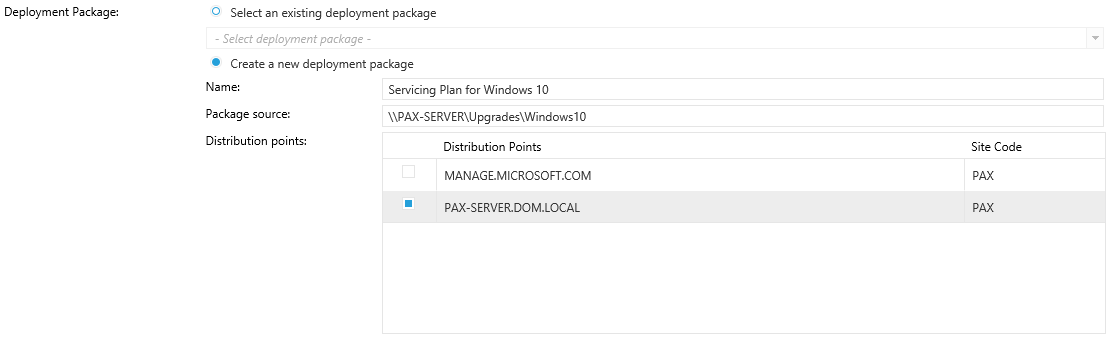
Next, you can select an existing Deployment Package or create a new. The Deployment Package will contain the files for the upgrades.
In this example, we create a new Deployment Package.
The new Deployment Package must be given a name, and a share to download the files to.
You must also select the Distribution Points, where the package will be distributed to. You can distribute the Deployment Package to other Distribution Points from the Deployment Packages interface.
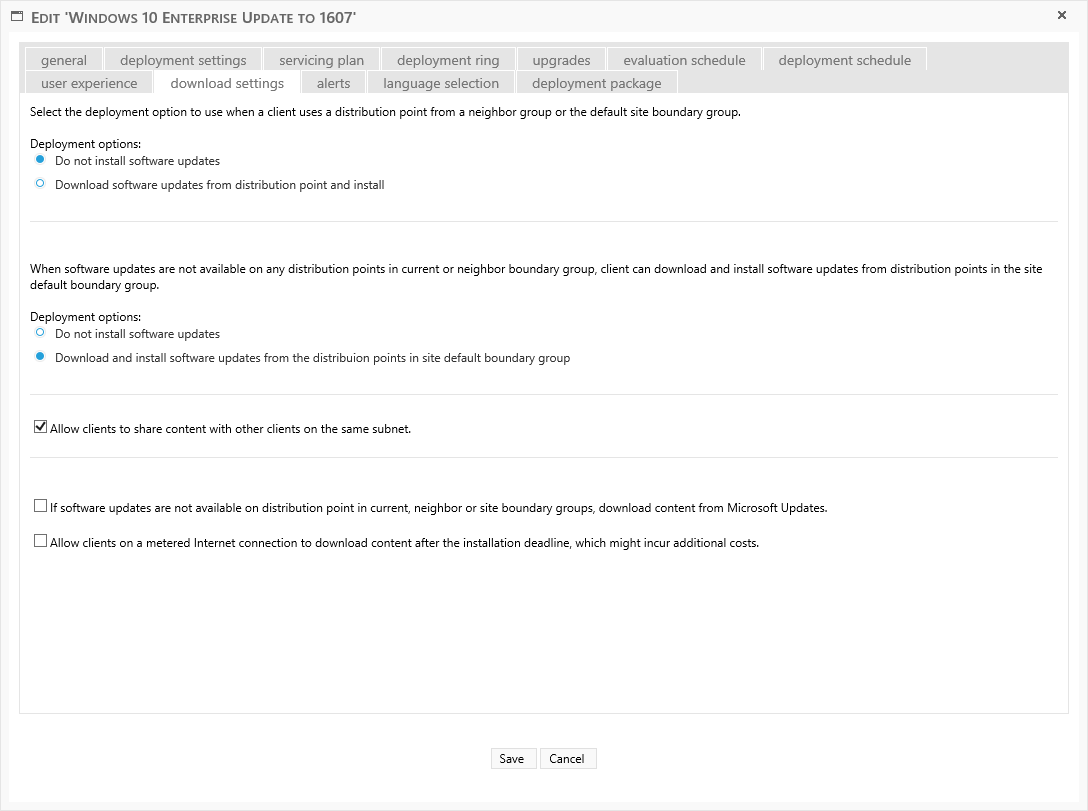
Next you must choose the download location. If the server does not have access to the internet, you can choose to download the updates from a location on your network:

Now you must choose the Deployment Ring. The Deployment Ring refers to the Windows readiness state. You can choose between Release Ready (Current Branch) or Business Ready (Current Branch for Business).

Now you can select which upgrades to include in this Servicing Plan:

Click on the links to apply filters.
In this example, we will only download upgrades in English which is required by at least one device and matches our Windows Enterprise edition:

Click on the "Preview" button to the right, to see which upgrades will be downloaded:

Next you can select the languages. This is pres-elected with your default settings:

Finally you can set a deployment schedule. You should set the Deployment Schedule to 4 hours, to allow the files to get distributed to the selected Distribution Points.

You can now save the Servicing Plan. If the Servicing Plan is saved with no problems, the window will close and you can see the new Servicing Plan from the main interface.
You can trigger the Servicing Plan to run immediately by clicking on the "Run Now" button:

Note that the Status and Deploy button first will be available when the files have completed download. This may take several hours.
You can click on the Edit button to change other settings for your Servicing Plan.
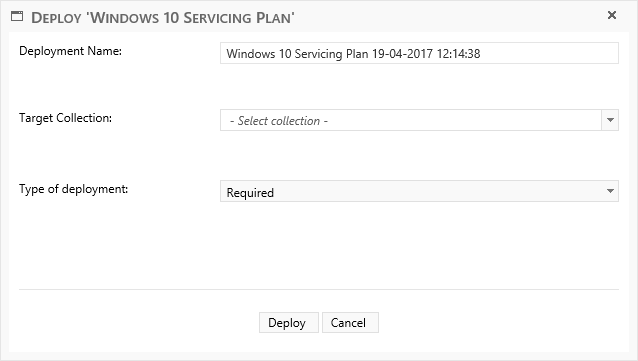
You can deploy a Servicing Plan to another collection by clicking on the "Deploy" button.
A new window will open, where you can select the new collection:
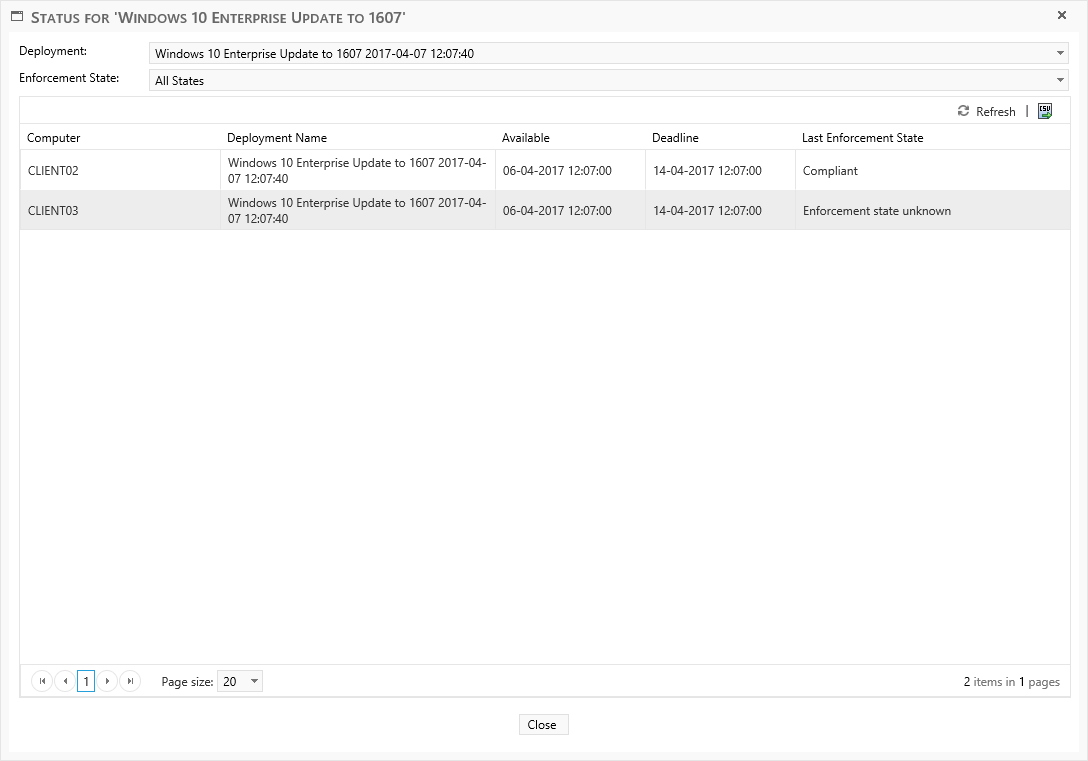
You can see a list of all targeted devices and their installation status by clicking on the "Status" button.
You can see status for each deployment of the Servicing Plan.
You can also apply a filter to only see clients with a specific state.
You can also go to the Windows 10 Servicing interface to see other status information.