
End User Scheduler
The End User Scheduler enables administrators to create automated deployments for large-scale deployment projects such as upgrading the organizations operating systems.
The End User Scheduler automatically pre-caches operating system upgrades and via a customizable splash screen allows end users to schedule or skip upgrades.
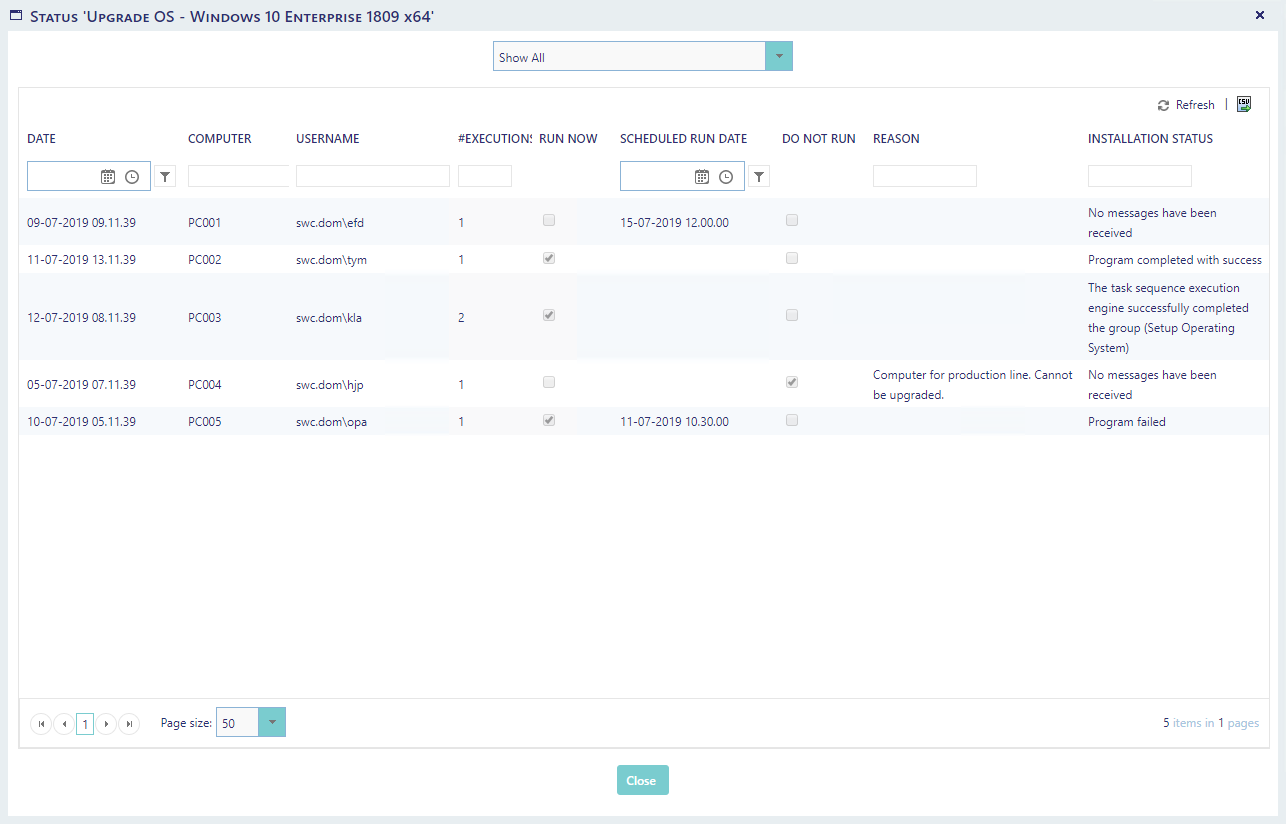
From the status page, administrators can get a quick overview of the deployment status of an upgrade and quickly export the data.
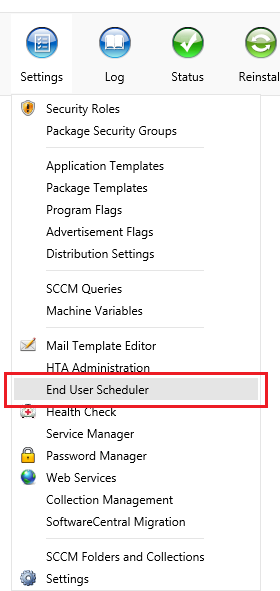
Everything is configured from the configuration page for the End User Scheduler, which is located under the Settings menu:
With the following steps, administrators can create and deploy a new operating system upgrade:
Start by importing the new Operating System Upgrade Package with the SCCM and distribute it to the appropriate distribution points.
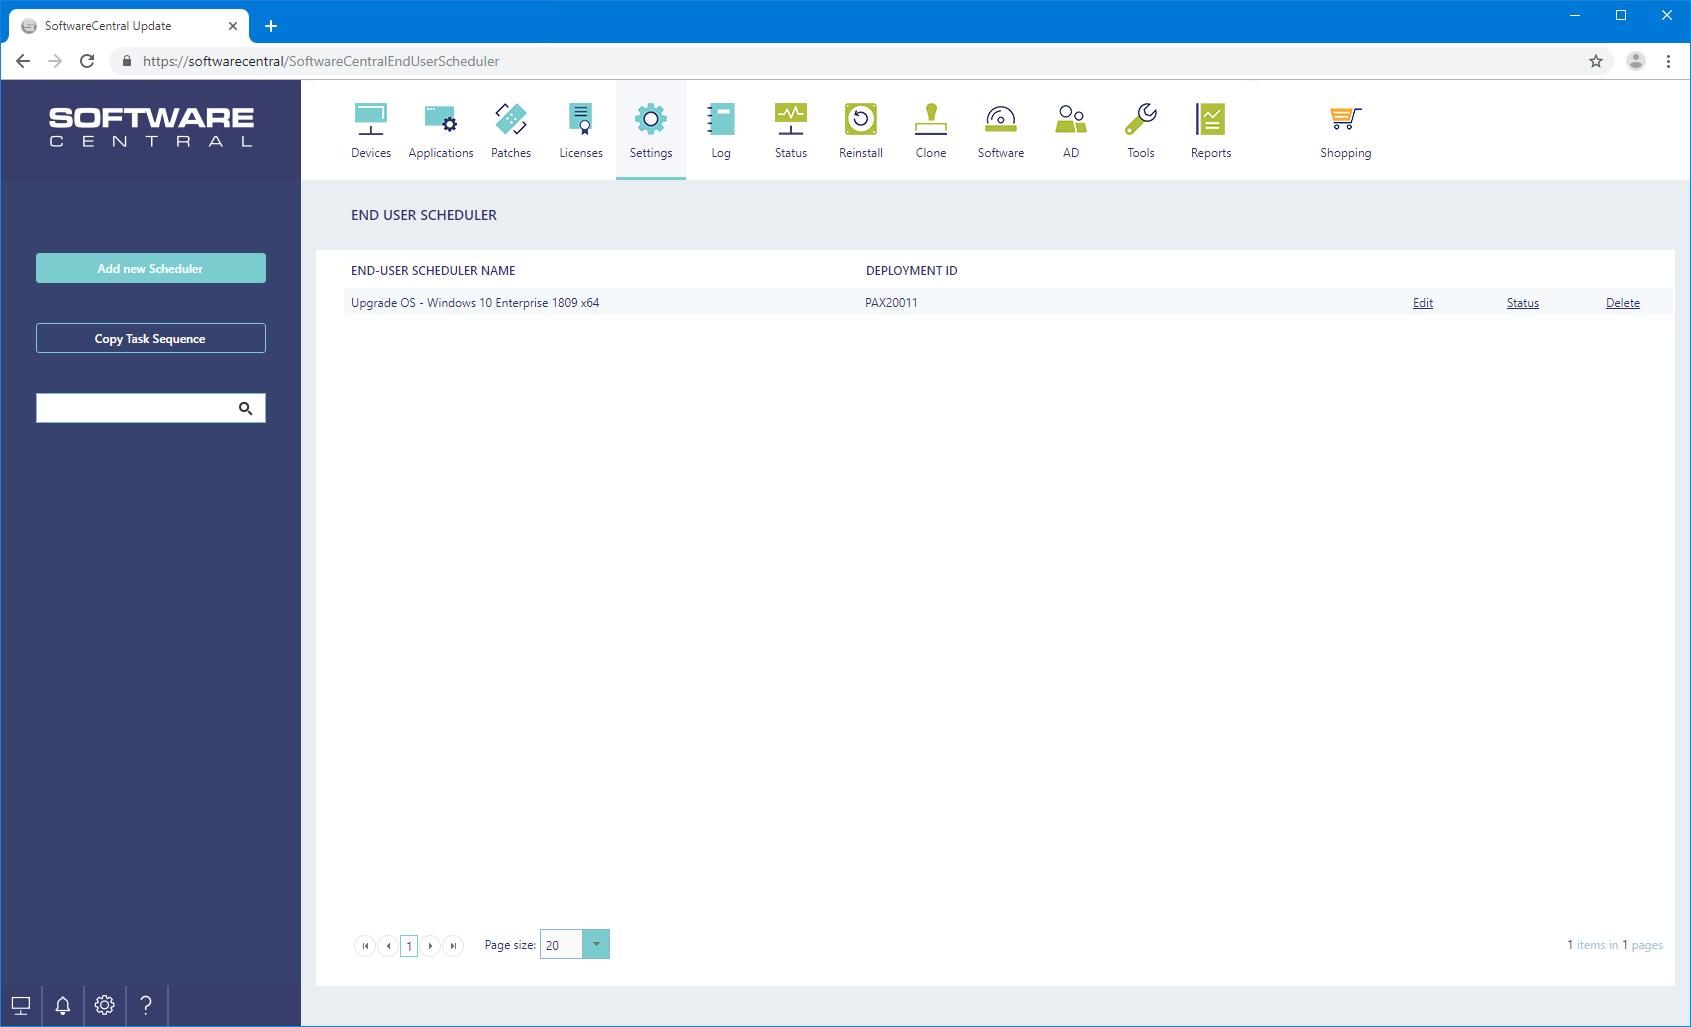
From the main interface, click on the "Copy Task Sequence" button in the left menu.
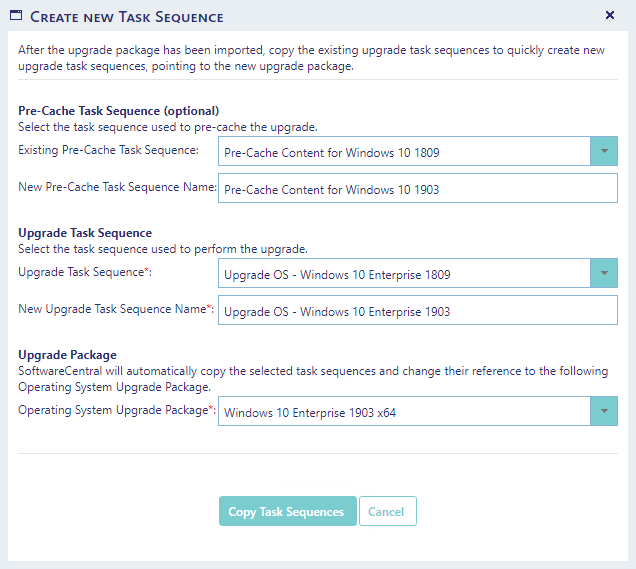
A new window will open. From the new window, select the previous used pre-cache and upgrade task sequences. Name the new task sequences. Finally select the new Operating System Upgrade Package.
SoftwareCentral will now copy the existing task sequences and change the variables pointing to the Operating System Upgrade Package. It will also create new collections and deploy the task sequences to those collection.
Task Sequences and Collections will be placed in the same folders as the originals.
The advantage of copying the existing task sequences is that any custom steps, will be added to the new task sequences.
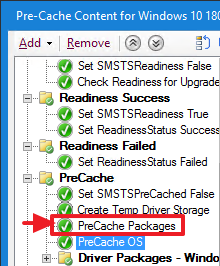
Once the new task sequences has been created, you can modify the driver packages in the pre-cache task sequence if needed.
Note that if you want to pre-cache any additional packages, you must do that in a separate step, before the pre-cache OS step.
To add a new scheduler, click on the "Add new Scheduler" button in the left menu.
A new window will open.
Give the new Scheduler a name and select your new Upgrade Task Sequence from the drop-down.
Note that under "Other Settings" you must also provide a command line, for executing the actual upgrade. The arguments are auto generated when you select a deployment.
Once the scheduler is saved, you can see a preview of it. You can change the design of your scheduler anyway you like with the HTML editors.
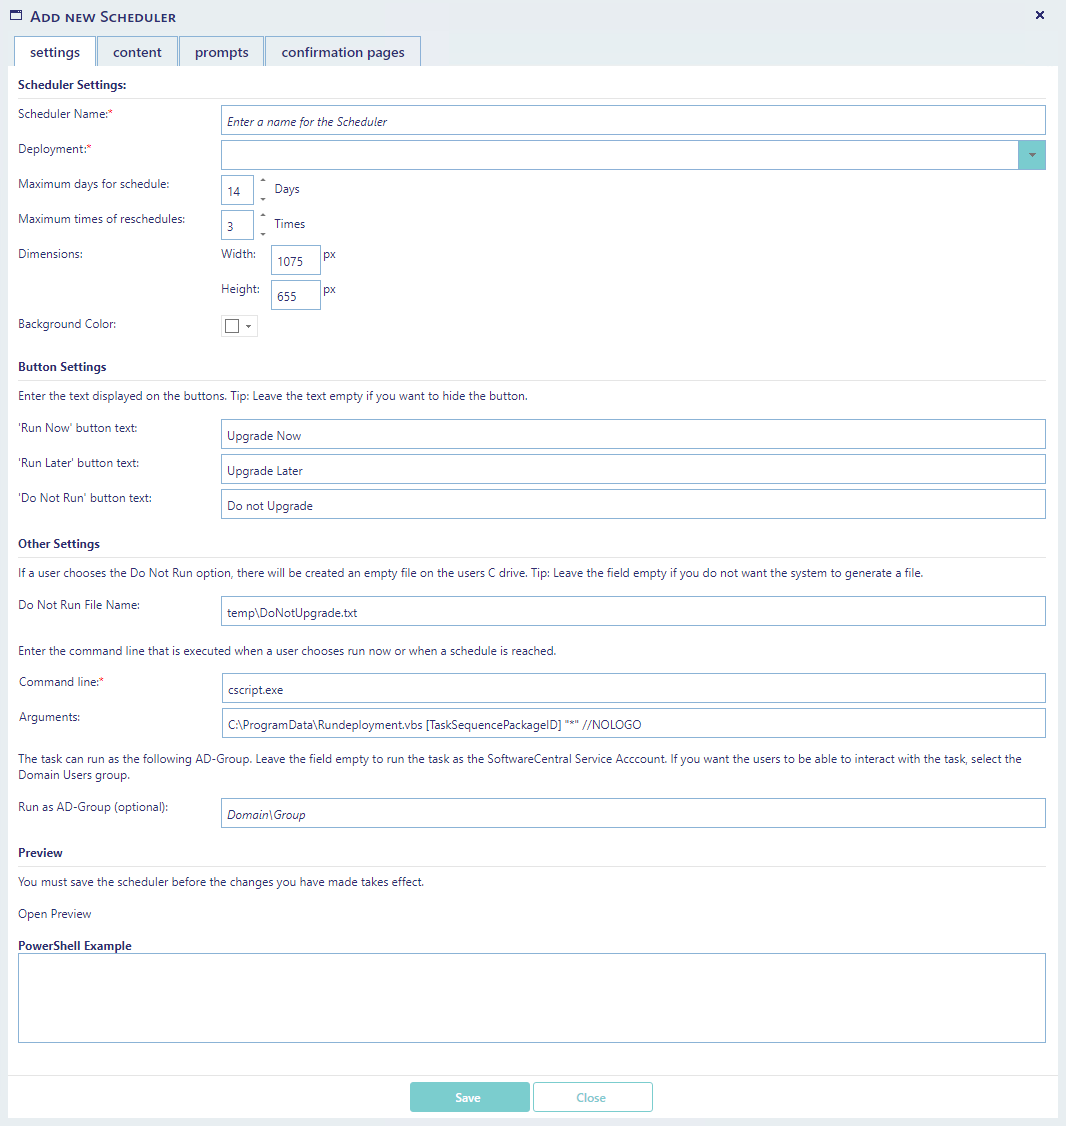
End users may run this tool from a PowerShell script. An example of this PowerShell script with the required values will appear in the "PowerShell Example" textbox, once the scheduler is saved:

Copy the script to a new ps1 file and configure and deploy it to all computers, which are a member of the upgrade OS collection.
Set the script to launch at startup.
End users will now be presented by the splash screen and may choose when to perform the operating system upgrade.
Click on the "Status" button to open the status window. From here, you will see a list of all devices, the current deployment is deployed to. Use the drop-down box on top of the gridview or the textboxes on top of each column to filter the results.
You can export the currently viewed devices to a CSV file using the export button in the upper right hand corner.
To edit a Scheduler, click on the "Edit" button.
To delete a Scheduler, click on the "Delete" button. Note that when you delete a scheduler, all historical data from the status list is also removed.
If you delete a Scheduler, the actual upgrade will not be deleted and clients will still be upgrade.
To stop an upgrade, you must remove the clients from the collections.
This can be achieved from the Collection Management interface.
You can read more about the API here: API