
Installing the update
 |
Before you update SoftwareCentral you should make a backup of the SoftwareCentral database. |
In the downloaded zip file you will find an installer. Extract the installer.
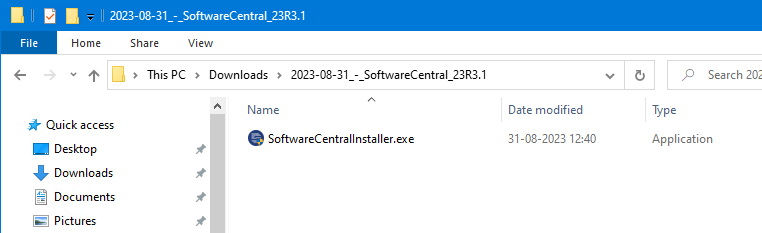
Launch the installer from the server where SoftwareCentral is installed.
|
The installer must be launched with an account that have administrative permissions on the web server and full access to the SoftwareCentral database. |
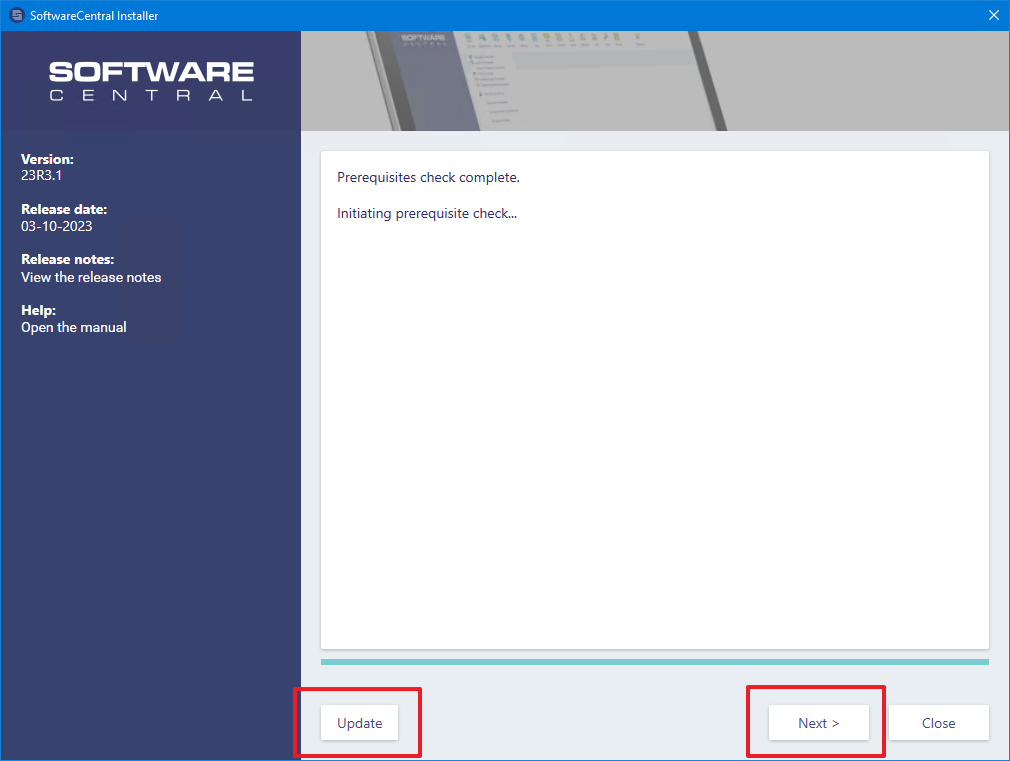
The installer will launch a wizard.
The first step will run a prerequisite check on the server to determine if all required Server Roles are installed.
You then have the option to click on the "Update" button, that will install the update immediately or click the "Next" button to go over the full configuration, as you saw during the installation.
At the end of the installation, the installer will give you a summary of any errors that might have occurred during the installation:
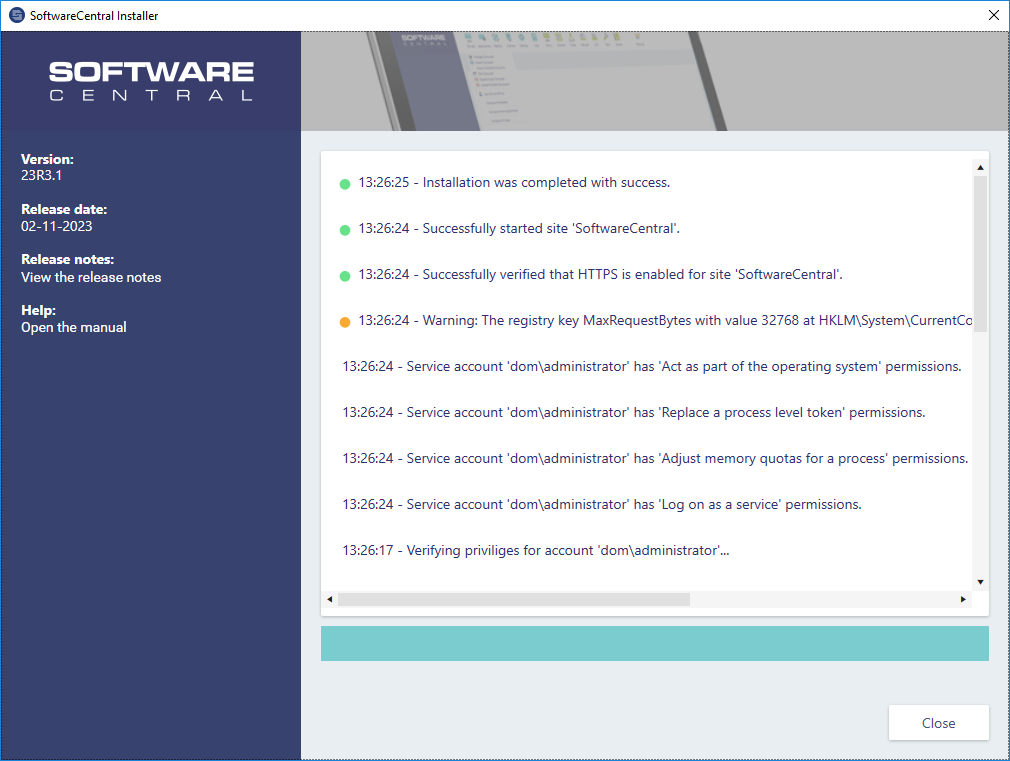
Click Close to close the installer.
You can run the installer again if something went wrong.
SoftwareCentral is now updated and ready to use again.
Note that if you use the PrestageComputer application, you must manually update your boot images.