

If you are new to application imports in SoftwareCentral, you should see the Application Wizard guide and the Application Templates guide.
The Create Application interface is a more manual way to import application then using the Application Wizard.
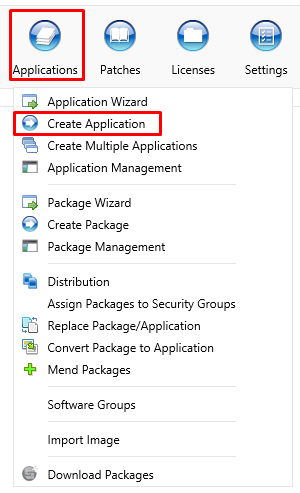
It can be found under the Applications menu:
When creating an application, you start by entering the manufacturer, name, version and language.
You can optionally select an application template, for some predefined settings.
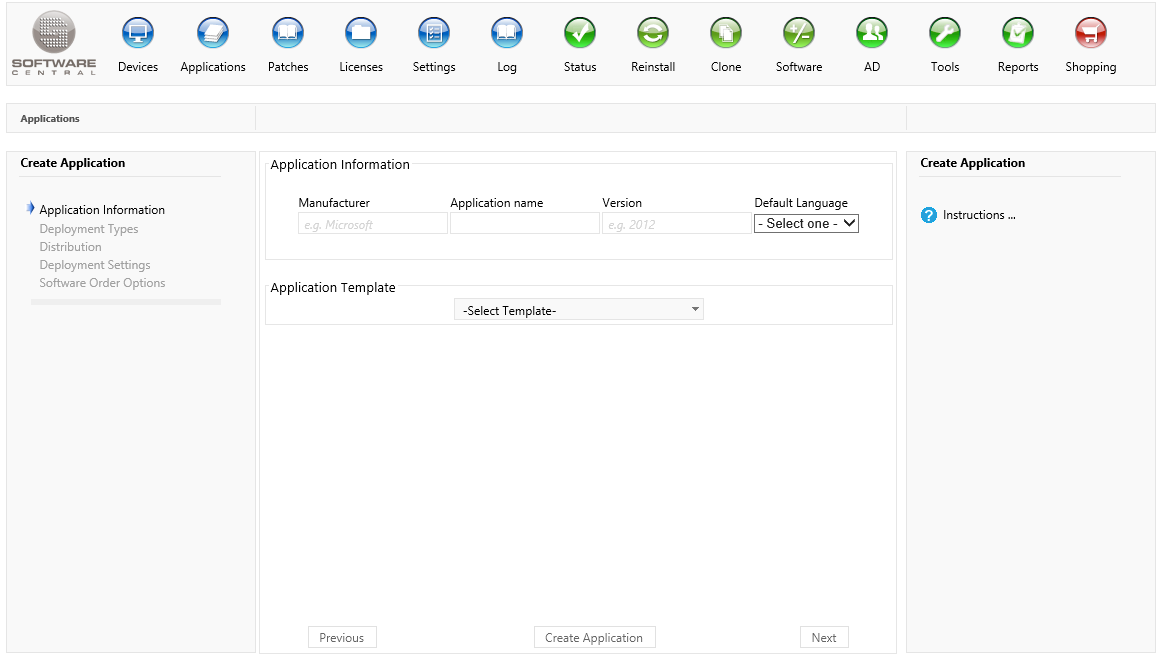
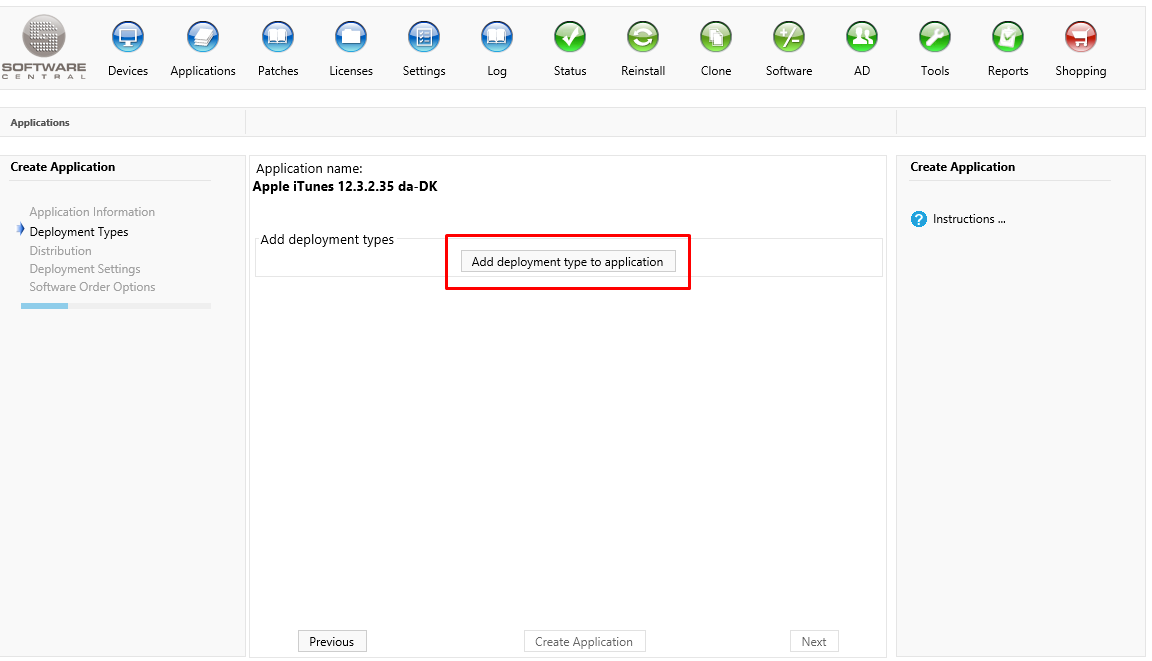
Once you have filled on the above information you can click on the "Next" button to go to the next page and add Deployment Types.
Click on the "Add deployment type to application" button to add a deployment type.
A new window will open:
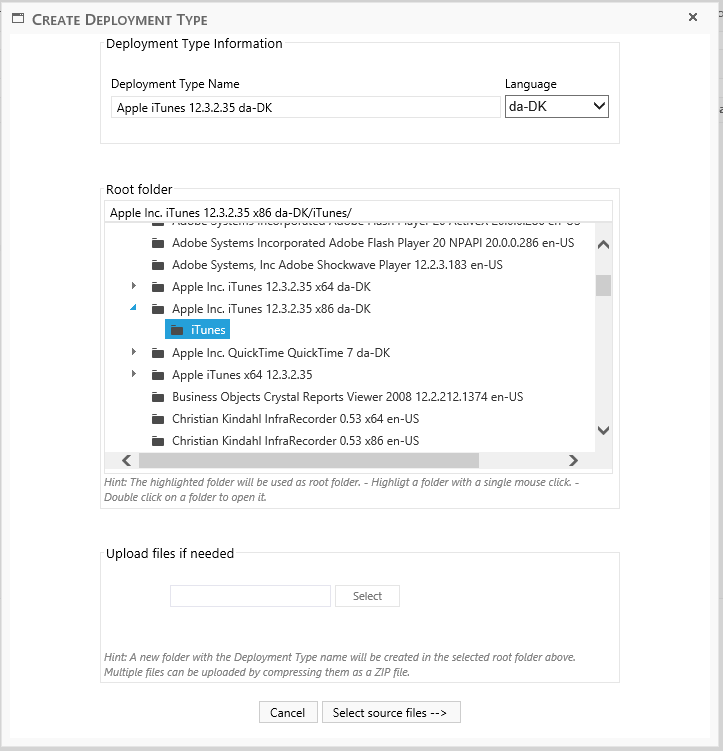
If the package source files is already on the share, then select the containing folder.
Otherwise select where you want to upload the source files (a new folder will be created with the application name you entered earlier).
Click on the "Select" button and upload the package. If the package consists of multiple files, then upload them together in a zip file.
Click on the "Select source files" once you are ready. It may take a while for it to continue if you are uploading a big packages.
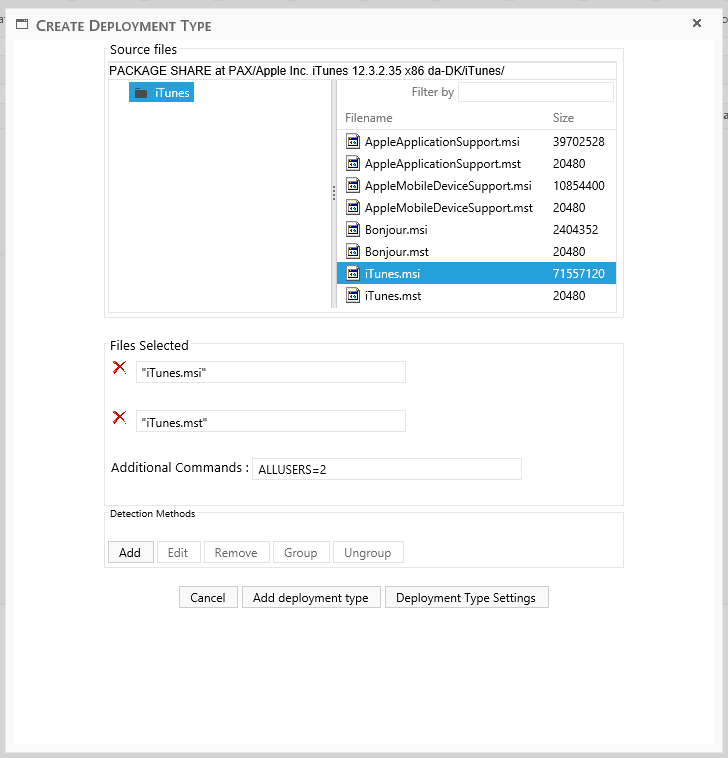
Select the files used to install and uninstall the package by double clicking on them.
You must add a detection method before the deployment type can be saved.
You can to the "Deployment Type Settings" for advanced settings.
Once you are done, click on the "Add deployment type button". The Deployment type window will close and you can see the deployment type from the list:
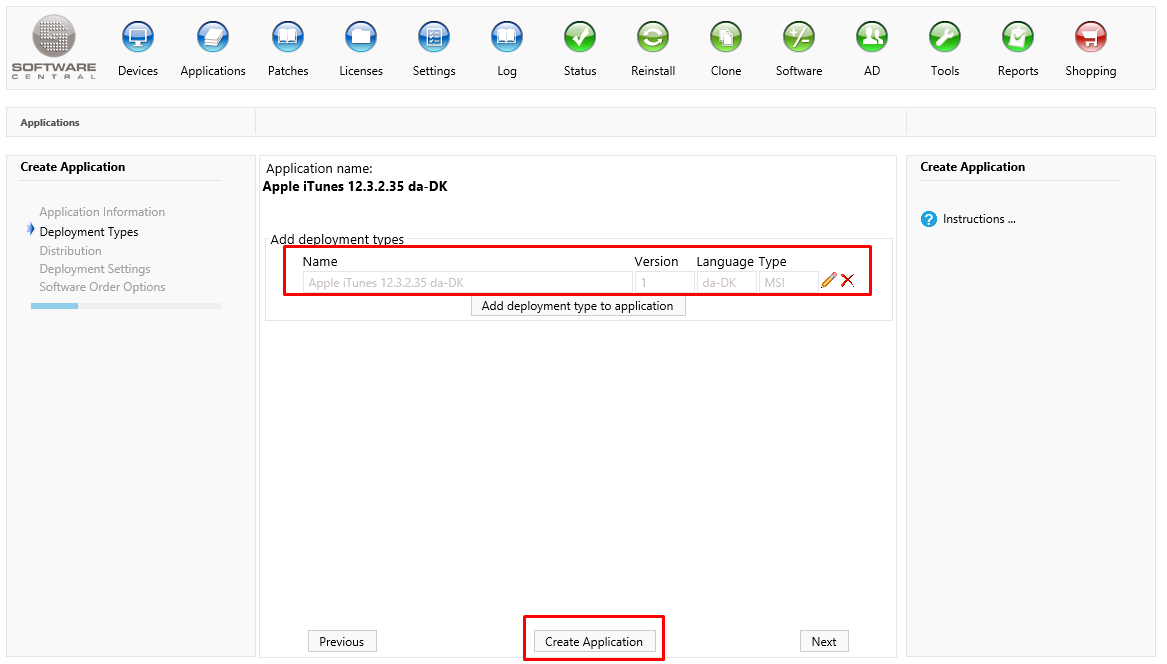
The application is not ready to be created. Click on the "Create Application" button to create the applicaiton.
You can click on the next button to select settings for distribution, deployment and the shop.
Applications can also be configured for the shop through the Software Administration interface.