
Manage Software
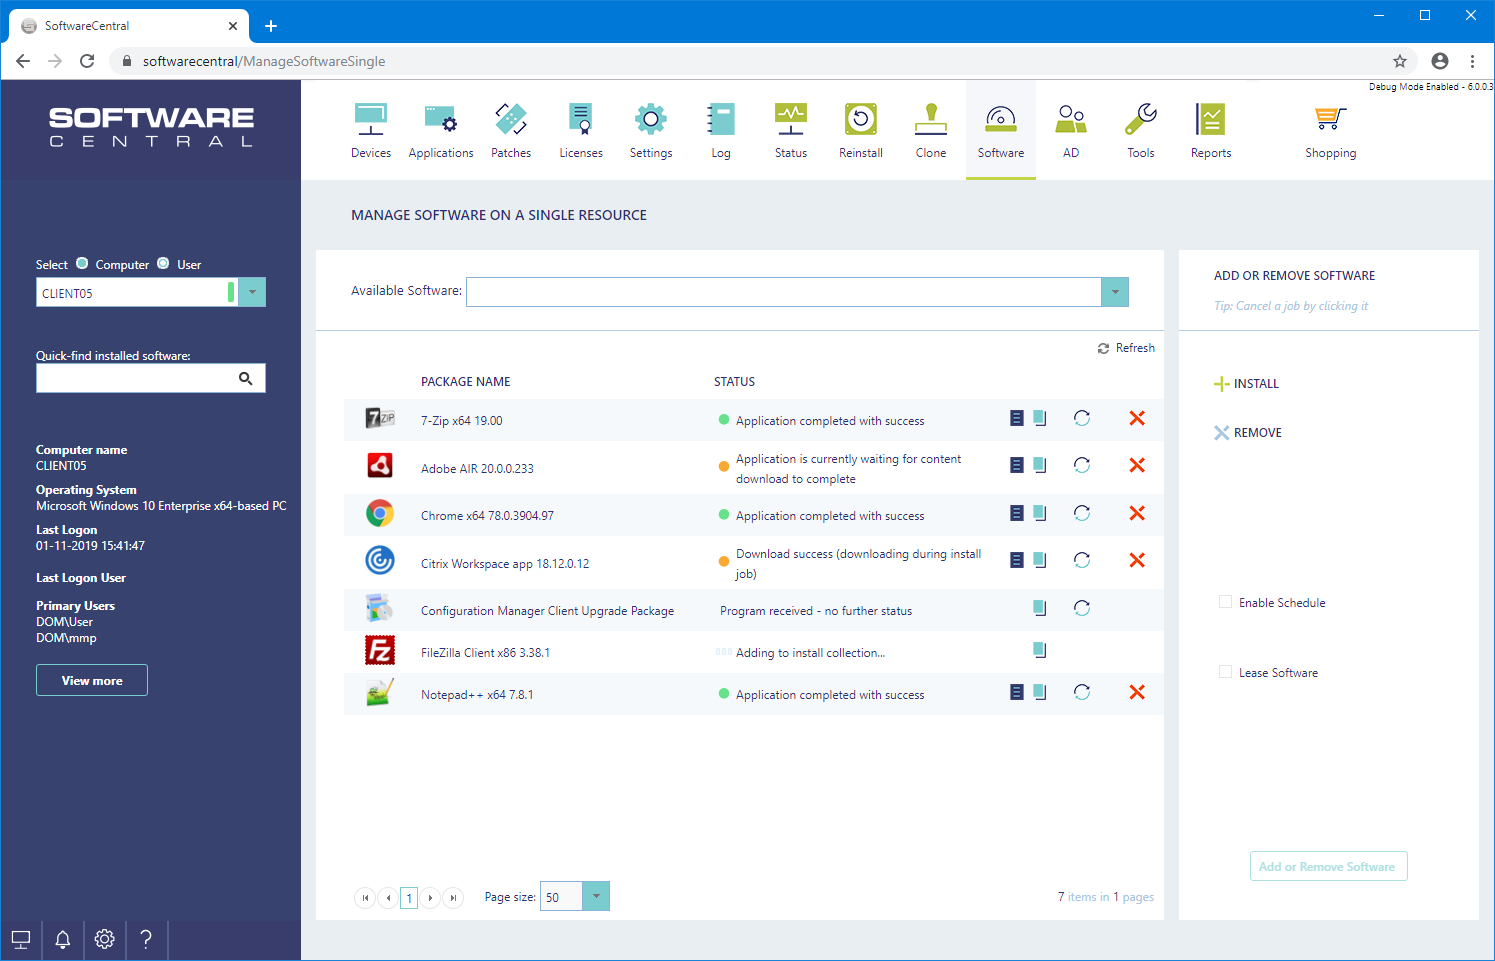
When a resource has been selected, the center of the screen is populated with the software already assigned to the machine. A drop-down box at the top will display all available software for the selected resource.
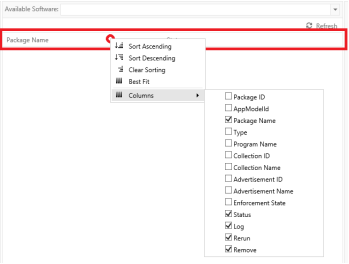
You can right click on the header row in the grid to select more columns or to sort the list:
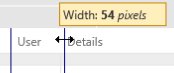
You can drag a column header to expand the column width:
When opening the “Available Software” drop-down you can browse through the available software using the mouse or the arrow keys on the keyboard.
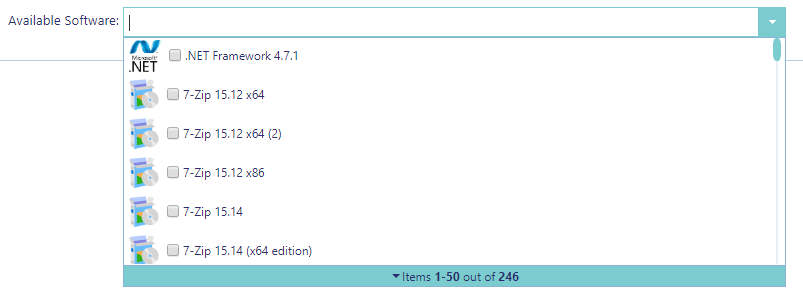
You can search for any part of the name of the application you are looking for.

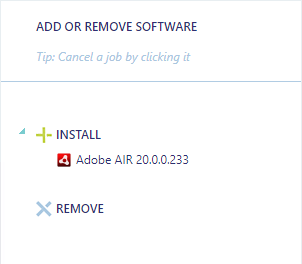
Once you have found the program you wish to add, simply click on it with the mouse or use the spacebar on the keyboard to select the highlighted program:

Programs queued for installation or removal will also be displayed in the right hand side menu:
By clicking on a program in the queue, it will be removed again.
You may schedule the installation for later by checking the "Enable Schedule" checkbox. See more under Scheduled Deployments.
You can lease the software to the user for n number of months. Check the "Lease Software" checkbox to lease the programs.

Leased software will automatically be installed the given number of months after the installation date.
In the lower hand side of the interface you have the “Apply Changes” button. Once clicked, a loading icon will quickly show and then you will notice that the selected programs will be removed from the queue and be added in the assigned software list in the middle.
When a program has been added recently, it will show with a loading icon like this:
![]()
This means that the program is in the process of being assigned to the selected resource.
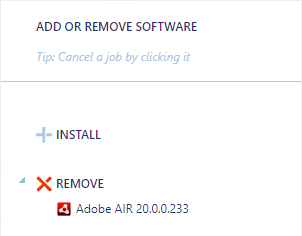
To remove an installed program, you simply click on the Remove button in the center grid next to the package you wish to remove:
This will add the selected program to the queue in the right hand side menu:
If you regret your action, you can click on the program in the queue and it will be removed from the queue.
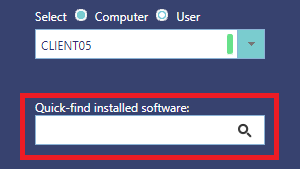
You can search for an assigned program using the search field in the left hand side menu.
Once you are done, click on the “Apply Changes” button in the lower right hand side of the interface.
Note that you can both add and remove programs in the same action.
If an installation doesn’t start, has failed or needs to be reapplied you can click on the blue Rerun button in the center grid:

This will trigger the policy refresh on the client.
If it is a package, it will try to rerun the advertisement. If it is an application, it will run the application evaluation cycle.
If it is an application that is configured with a repair command, that command will be executed on the client.
A rerun will not be added to the job-queue, it will run immediately.
You can use the "Clean" button to remove software from the install collection. Note that this will not uninstall the software.
This can be helpful if a resource for instance is a member of multiple install collections for the same program, but of different versions.
The install now button appears for software which is available to the resource, but is not yet installed.

By clicking it, the program will be installed immediately. Note that the device must be online and in some cases a user must be signed on for this to work.
For each assigned application there is also a status field. The status field will give a short message indicating the status of the deployment.

In the screenshot above there are 7 applications, 5 of which has completed with success. The last one has failed because the requirements to the application was not met.
Some status messages are underlined. This means that you can click on them to get more information.
In this scenario, the requirements were not met for FileZilla Client. When we click on “Requirements Not Met”, a new window will open.
From the new window we can see the requirements, and the current value from the machine:

Here you can also right click on the header to show or hide columns.
This window gives us information about what went wrong. In this scenario we can see that the targeted machine did not meet the software and hardware requirements to the application.
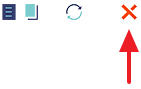
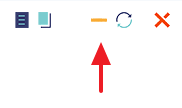
If you are monitoring an ongoing deployment, you can use the ”Refresh” button above the software grid to refresh the status messages. Note that messages will also refresh automatically.
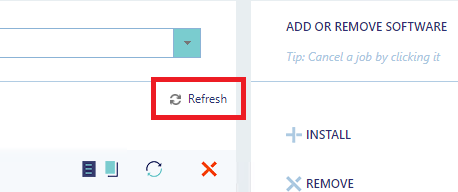
If you have searched for a specific package in the “Search assigned software” textbox in the left menu, only the status for that package is refreshed.